Construction Tips - Damascus Production
|
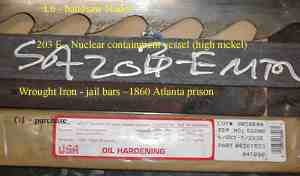
A blade starts with the basic components of the billet. My standard mix consists
of four components: O1 - high carbon tool steel L6 - medium carbon steel 203E - high nickel mild steel Wrought Iron - ~0 carbon, high Si content 5160 - medium carbon steel (links are for composition, sources, etc.) |
 |
|
The material is prepared as 2" x 4" x whatever the thickness happens to be
pieces. All pieces are ground and/or acid cleaned, then wire brushed to remove
anything that might hinder welding.
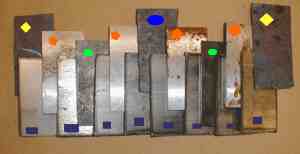
In this example, the yellow marks the wrought iron, blue the 203E, red the O1, green the 5160, and navy the L6. |
 |
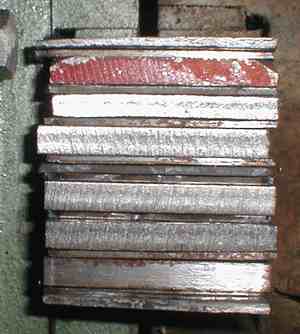
| You'll note that there are 17 layers,
arranged in a repeating pattern consisting of wrought iron as the outermost
layers, with four blocks of O1 arranged as O1 - 5160 - O1 - 203E - O1 - 5160 -
O1.All layers are separated from one another by a piece of L6. It is critical that there be sufficient carbon if the resulting blades are to function as decent cutting tools. To that end, all materials are first weighted. Knowing the weight and the carbon percentage, the carbon content of the billet can be calculated. In this examples, the weights are 1026 g O1, 560 g L6, 446 g 5160, 168 g wrought iron, and 96 g 203E. The weights are multiplied by the carbon %, summed, and divided by the total weight to yield an initial carbon content of 0.74% carbon. While some carbon will be lost during the welding, there will be more than 0.60% at the end. |
|
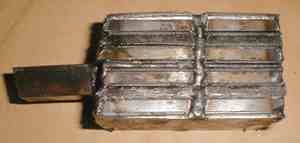
| The pieces are stacked in the correct order, clamped in a vise and arc-welded to lock the pieces together. A 'handle' (in this case, a piece of 3/4" square stock) is welded to one end. The billet is now ready for the forge. |
 |
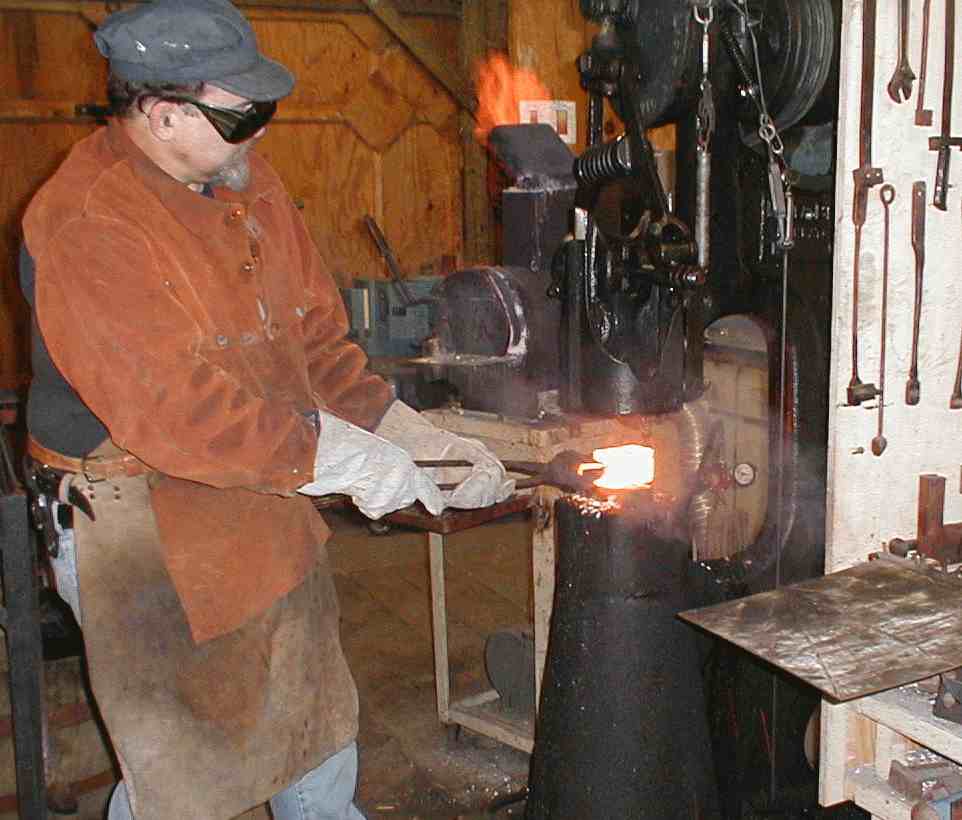
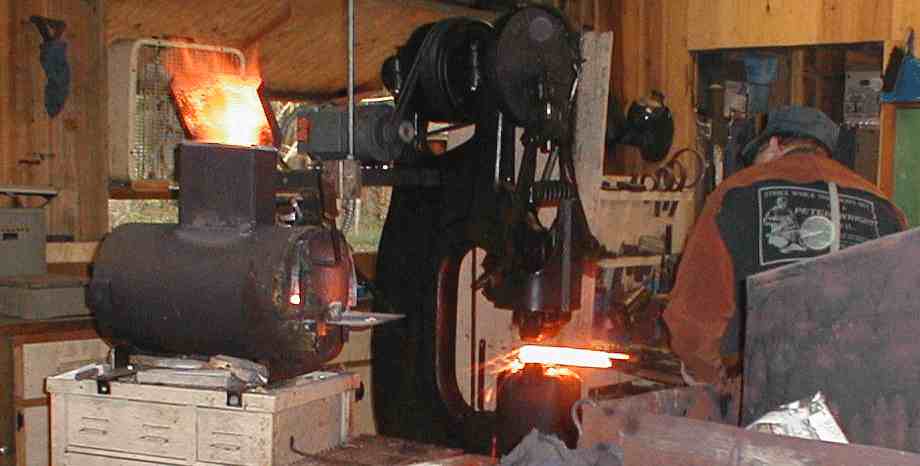
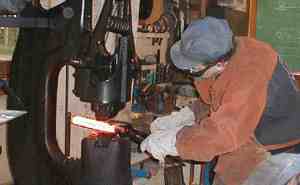
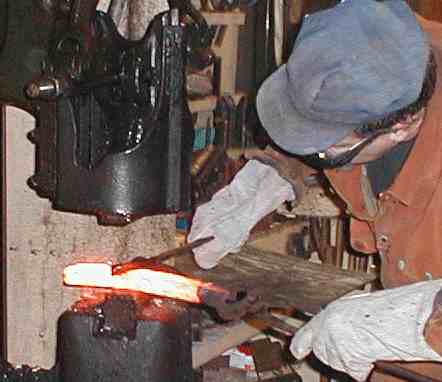
| I use a dedicated gas forge and a 50 lb Little Giant mechanical power hammer to work the billets. The picture to the right was taken on the first weld and the shot below was after a good deal of forging had occurred. I typically work the 2" thick x 2" x 4" block into a ~1.5" wide by 10" long block before folding. Two useful tools are shown to the lower right - the one on the right is the hack which is used to cut the block and the other is the "Dolly Parton" - a pair of ball bearings used to produce divots and hence 'ghost' concentric circle patterns in the steel.. |
 |
 |
 |
| The expanding pattern behind the tools is a device that allows a reasonable estimation of the center of the billet by placing the ends of the billet on the outer lines and placing the hack on the billet over the center line. Cool, no? Both the Dolly and the hack are used under the hammer (thank God for flat dies!). The shot to the right is the Dolly in use and the one below is using the hack. The block is never cut completely in half (if you can help it!). After the cut is made, the block is |
 |
 |
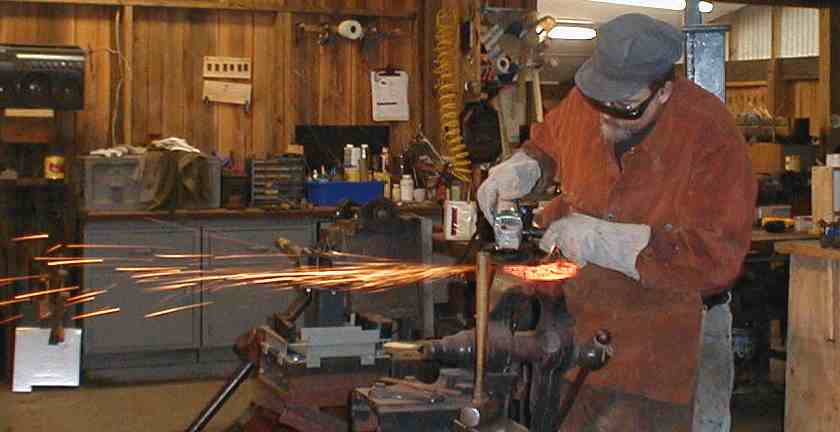 placed in the vise and 'buzzed' off with a side-grinder. This removes scale, cleans up the weld area, and crowns the block so that the weld will not make inclusions in the steel. |
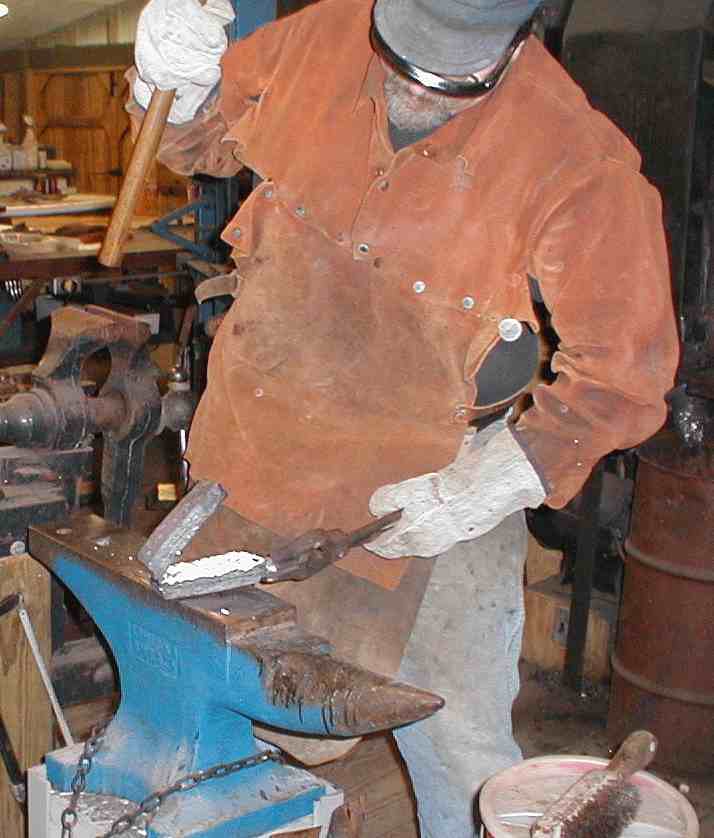
The block is next bent about 90 degrees while in the vise. It is moved to the anvil, the weld surfaces
covered with borax, and hammered closed.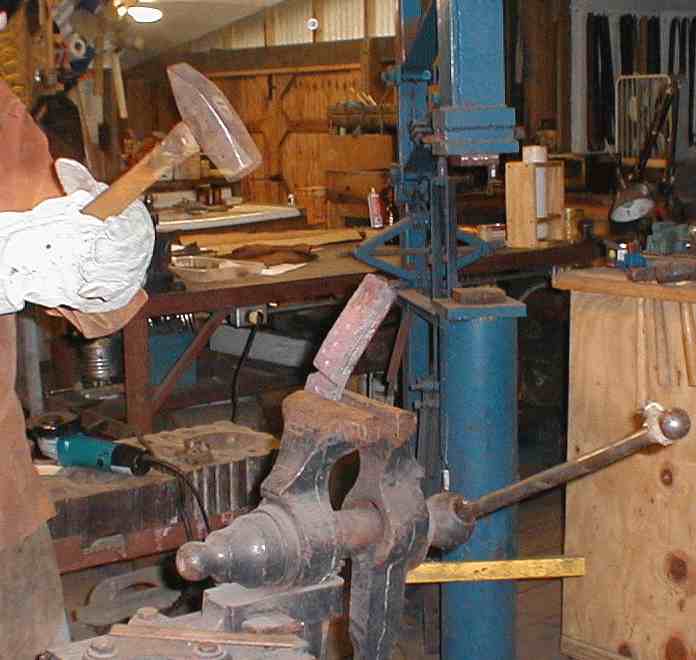
|
 |
A simple device is used to keep track of the number of times a billet is folded.
Depending on my mood and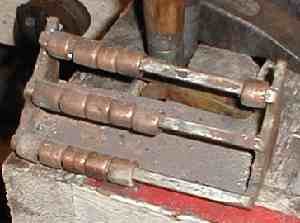
|
available
time, I may do all folds or stop somewhere in between. In this shot, the billet
is at 68 layers (2 folds) and has been hammered into 4 pieces - 1.25" x 6.5" x
0.5". The next step is to stack these and weld them into a 272 layer block and
make one more hack-and-fold to get to the final 542 layers.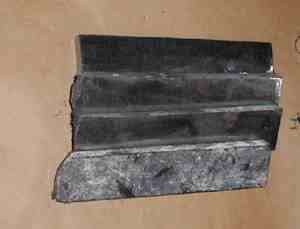 |